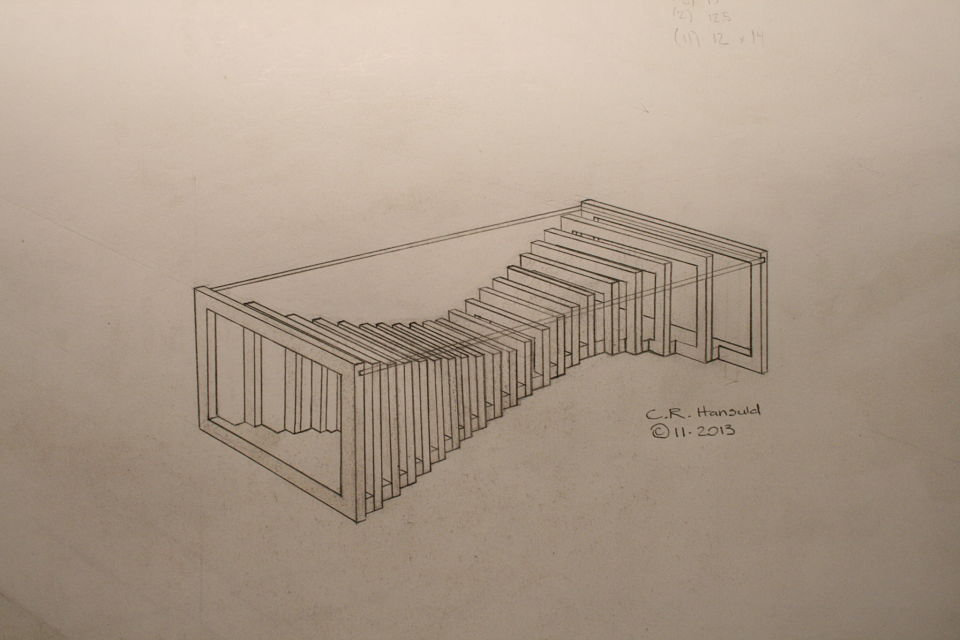
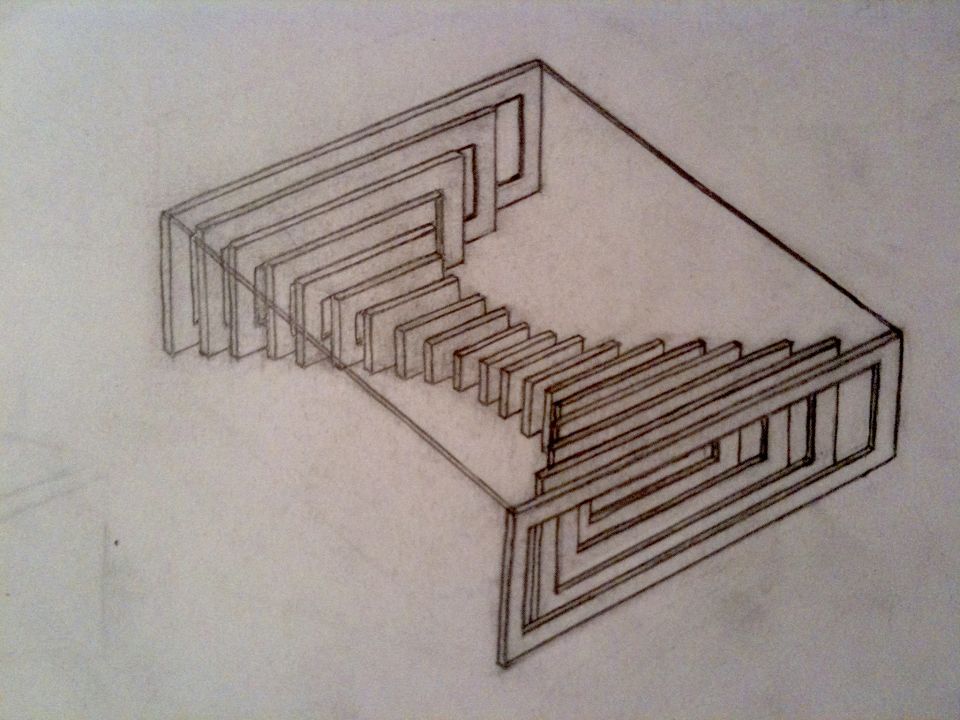
This week I have spent a bit of time sketching Coffee Table No. 1 for a new client who is looking to commission the same table, just bigger, and rectangular. In order to work through the design in my own brain and determine pricing I needed to work out the piece in scale on paper. The top view and side view of the table are done to scale and are more for my benefit, the perspective drawing is to scale as best as my eye could accomplish and is more so there to give the client an idea of what the piece will look like. Drawing is something that always takes me a long time. There is a lot of layout and erasing that happens, a LOT of erasing. It is something that I am constantly improving at, for the sake of reference I have the perspective drawing from the original coffee table design that I sold a different client this time last year. Gives you a bit of insight into how my drawing abilities have progressed in even just this last year.
As my aesthetic develops into designing pieces using lots of parts to achieve an overall greater form I wonder if my time might be better spent learning how to design on a computer. At the end of the day I just enjoy drawing by hand, probably for the same reasons I enjoy making furniture by hand. Not to mention I think there is something kind of special nowadays about showing up to a clients home with a sketchbook and a pencil to show them concepts rather then a laptop.


