
Just a moment of reflection while I wait for some veneer to arrive for the "Origami Chair." I've had a lot of help along the way, thanks to everyone whose been a part of getting me to where I am, couldn't have done it without you folks. I only have pictures of a few of you, but this post is for all of you.
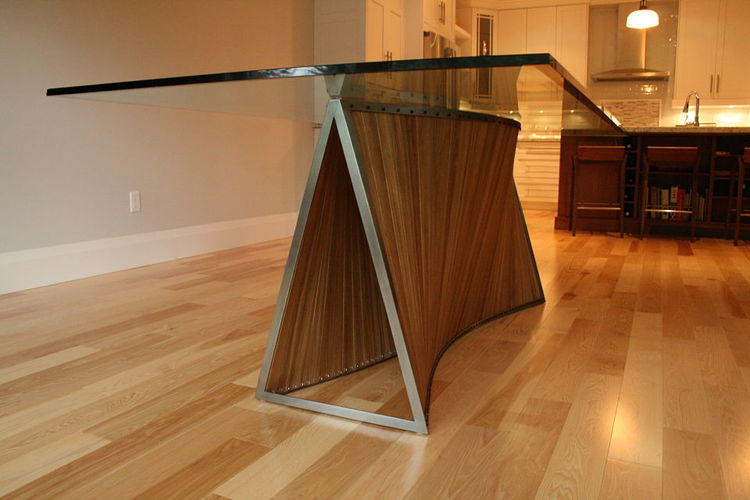
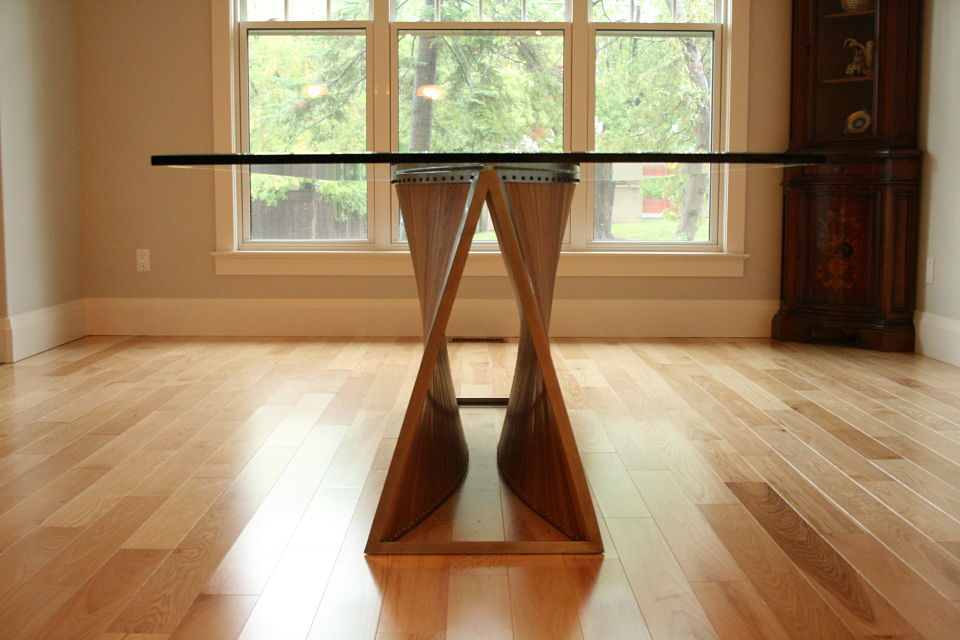
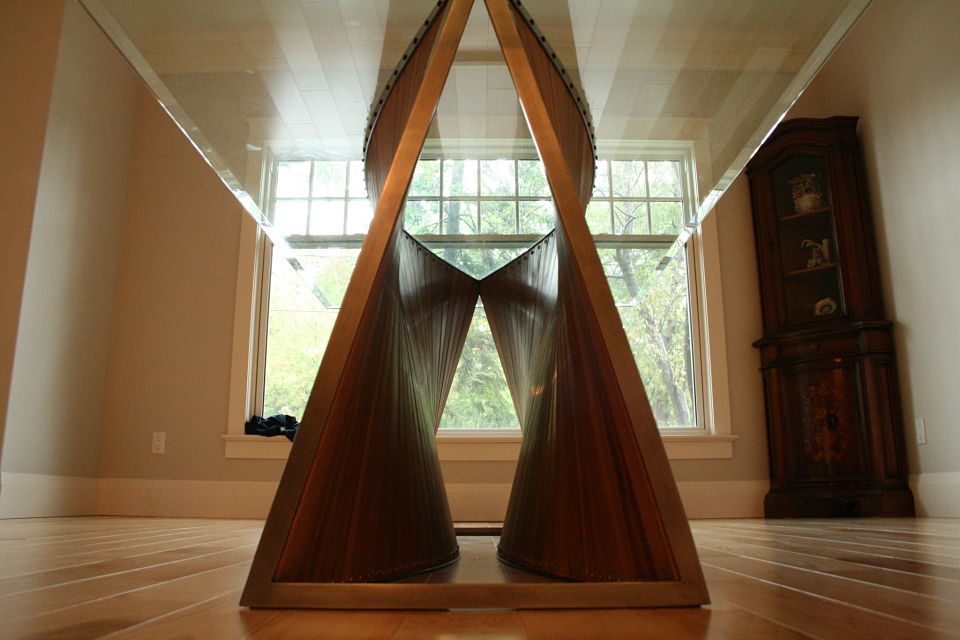
Dining Table No.1 Finds Its Home
Dining Table No. 1 has arrived in its new home. I was enormously nervous while delivering this table, I was unsure of how stable the table would be but was very pleasantly surprised to find I could actually sit on the outer edge of the glass without the table so much as budging. Relief. The current piece of glass is from the clients old dining table, they plan on purchasing a longer piece of glass that may have some shape to it. I will professional photograph it once the real top has arrived.
Removing Water Stains
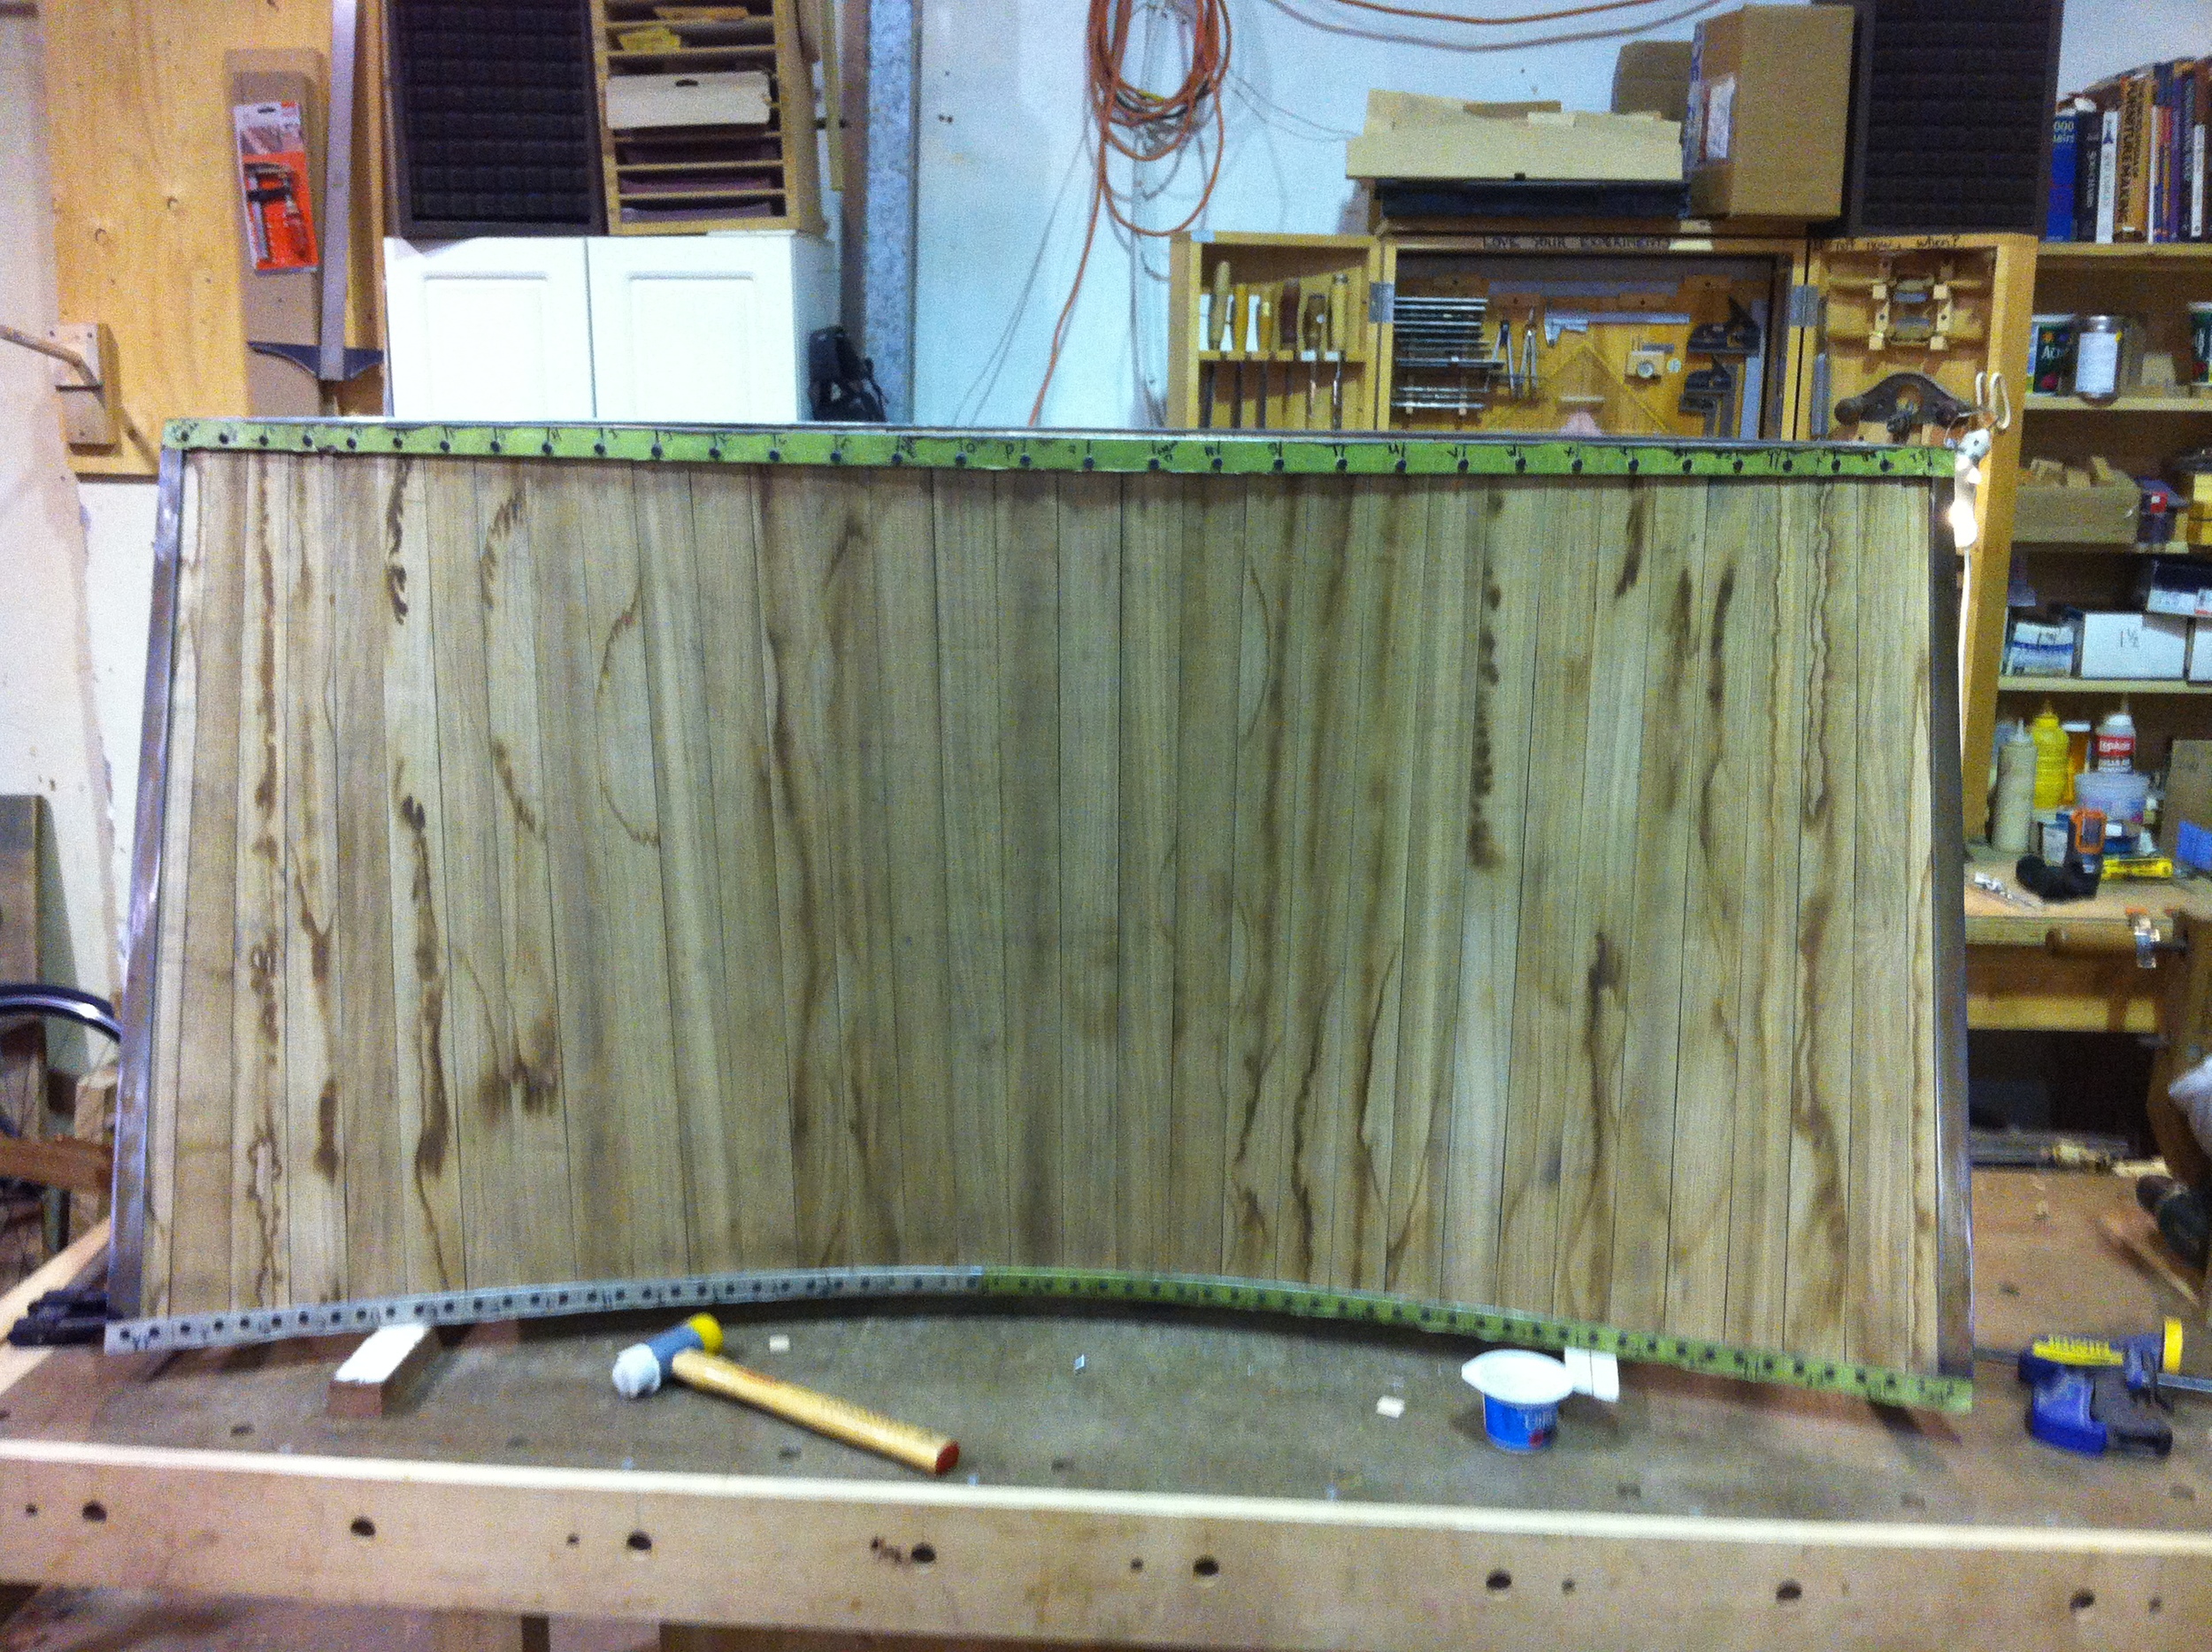
The slats have all been fit on Dining Table No. 1. After having steamed and twisted the 66 white oak slats they had a lot of water stains on the slats. The water stains were on the slats when they came out of the steam box, I can't say for sure why but my hunch is I didn't have them spaced out enough and/or condensation was dripping down onto the slats throughout the steaming process. In most cases I wouldn't worry to much about it, just scrape and sand until clear. However the design called for the outside face of the slats to have a bandsawn texture, this meant I was going to have to find another way of removing the water stains.
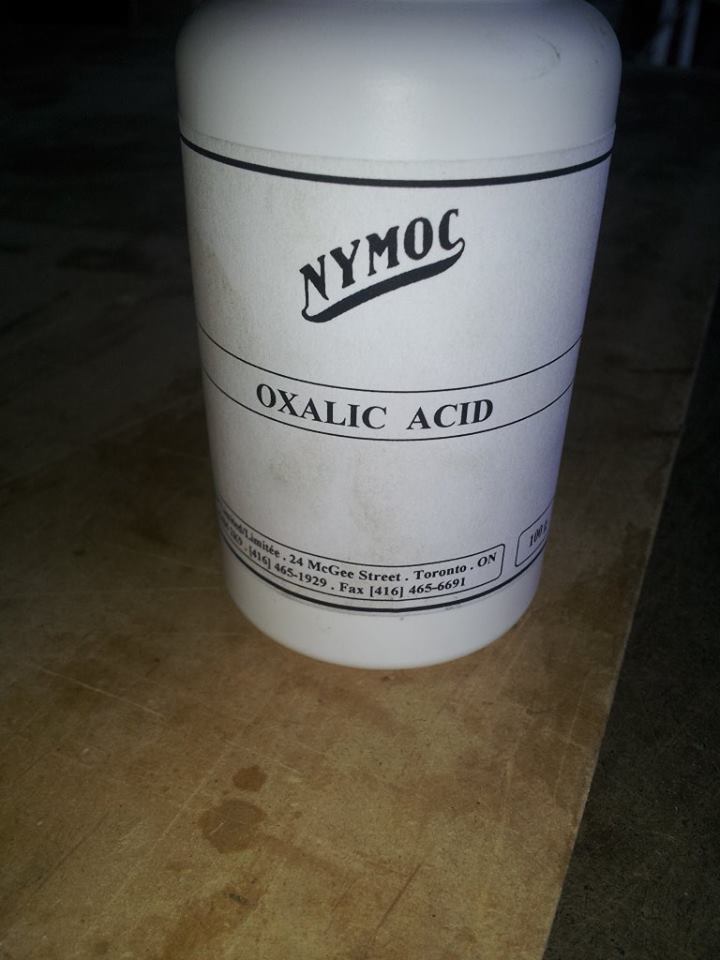
Some internet searching led me to find an organic compound solution, oxalic acid, which is a poison found in rhubarb. I ended up in what I can only best describe as a mad laboratory studio in the east end of Toronto where I purchased a 100g of the powder. Mixed roughly 10 parts water to 1 part Oxalic Acid I began scrubbing away at the stains with a wire brush. The test proved semi successful, although the stains were mostly gone the colour in the wood went with it leaving a sort of washed out dirty bleached look. It was undesirable for the finish I was looking to attain and meant going back to the drawing board.
With no real explanation as to why I thought it would work I decided to try and steam the stains out (last resort). Armed with my second hand iron and a wet clean rag I began steaming the water stained spots. Much to my disbelief the stains were lifting right out of the wood and actually transferring onto the rag. Some of the darkest spots took a couple tries but in the end I was left with clean (and wrinkle free) slats. I prepped them for finish by using the wire brush in line with the bandsaw marks to clean the slats and sanded a small chamfer on the edges. Few coats of wipe-on-poly later and I couldn't be happier. As much as I had fun with my brief organic compound trial, I am thrilled that steam was the solution. Be it bending, twisting, fixing dents or removing water stains, steam is the trick.

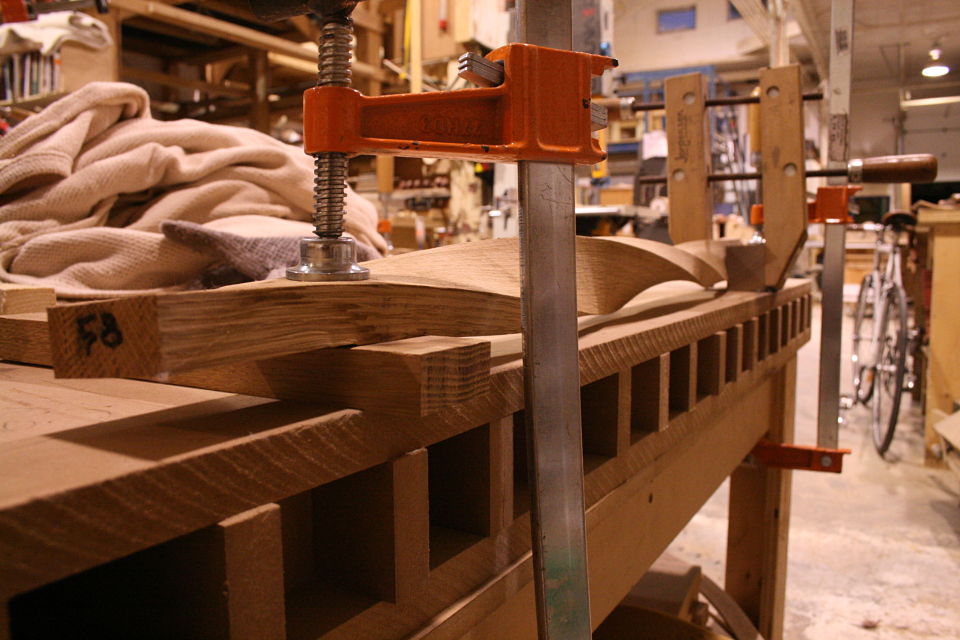
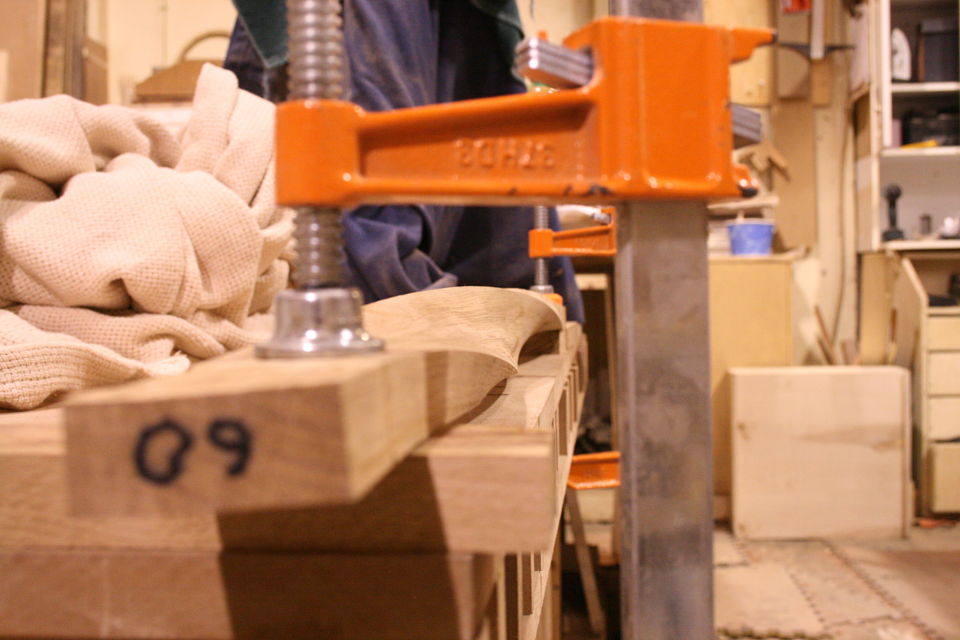
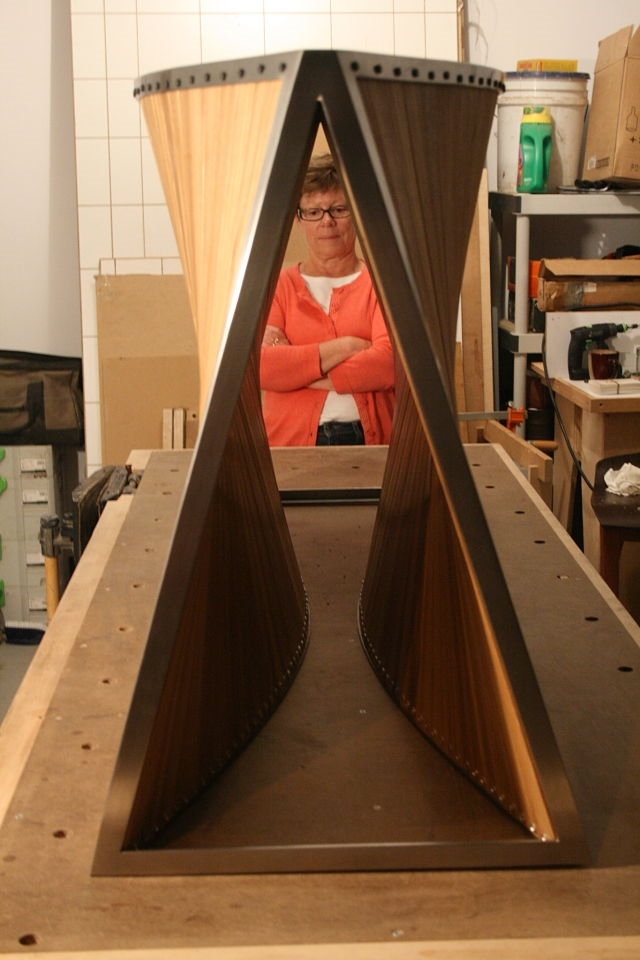
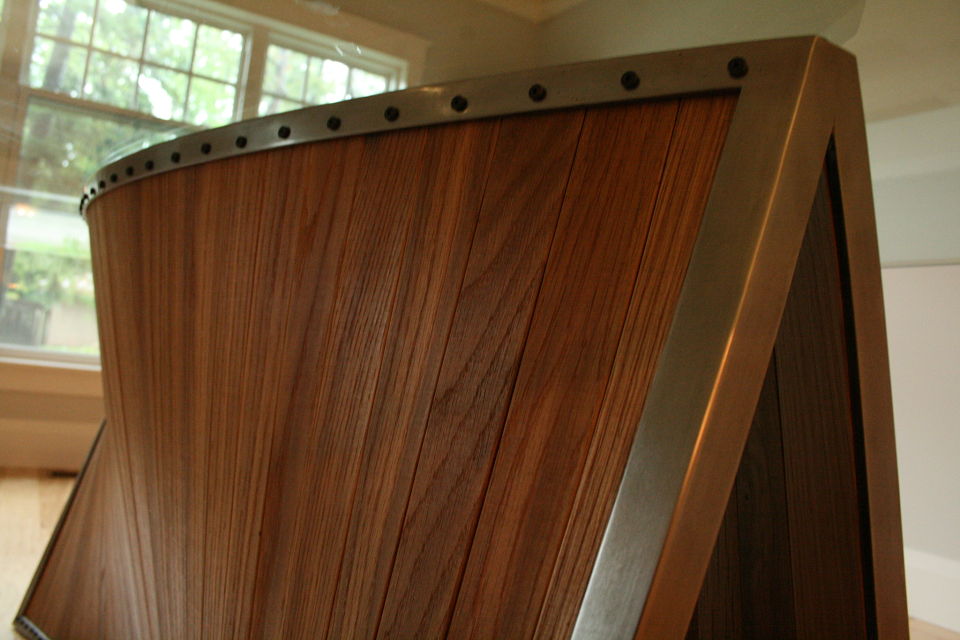
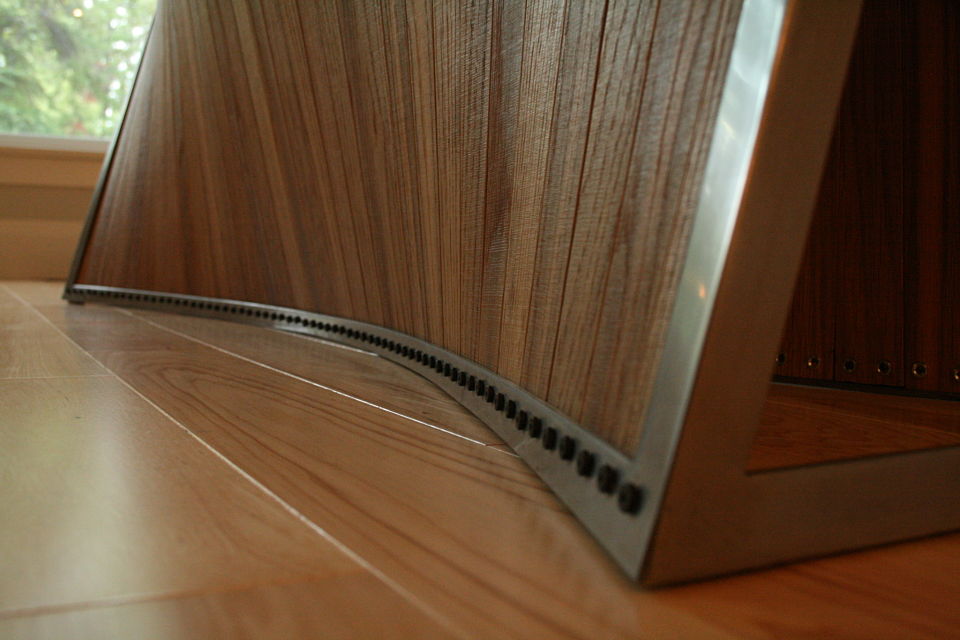
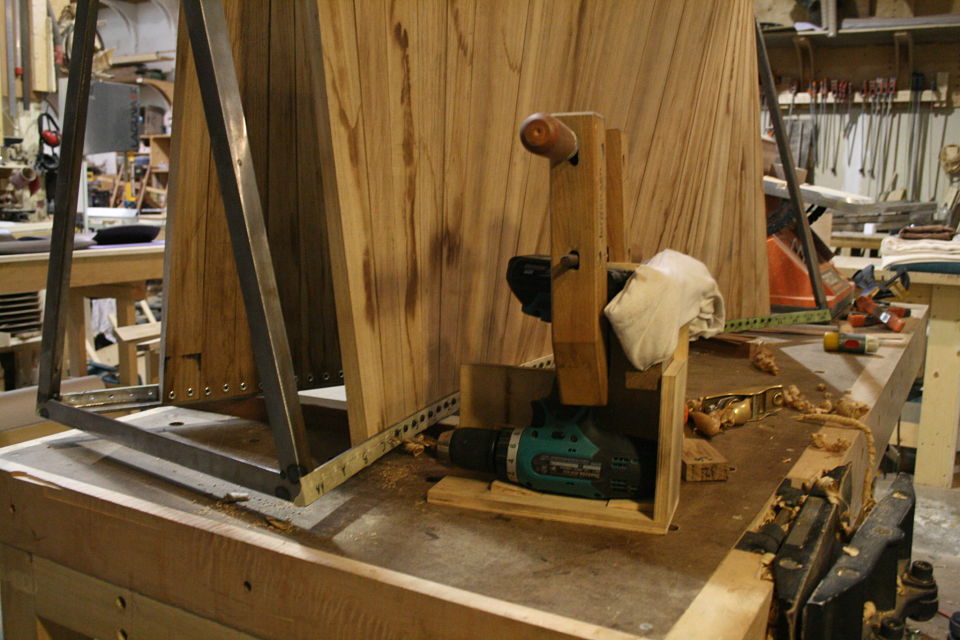
66 Slats / 198 Fasteners
With the white oak slats twisted into shape and drying it was time to layout exactly where each slat was going to attach to the frame and drill holes in the steel frame for where the fasteners would go. It took a few tries to get the spacing right with the dividers, a centreline was scribed and the holes were set with a punch and hammer. The steel base was clamped down to the bed and using a jig that held the drill parallel to the bed 198 holes were drilled through the 3/16" thick steel. 37.25" of lineal steel were drilled through over the course of two days. As the 66 wood slats got fit into place the same drill jig was used to drill out the wood slats for the fasteners.


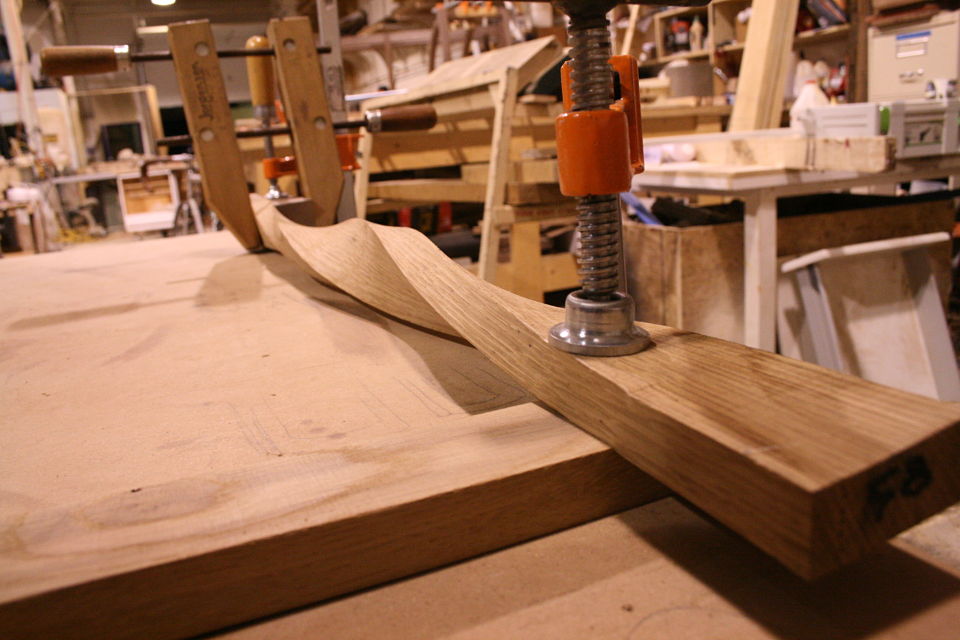
Twist and Shout!
A little while back we were twisting the 3/4" thick by 2" wide by 34" long white oak slats to make up Dining Table No 1. We were doing this with kiln dried wood, which typically speaking doesn't steam bend all that well, but given that the most extreme twists for the table are around 45 degrees we tested it out, and it seemed to work without any problems. After one long day and some 70 slats twisted and clamped to the metal base to dry we decided to "test the limits" with the few that remained in the steam box. The slats were steamed for roughly 2-3 hours at 200+ degrees fahrenheit, the results were pretty incredible, to watch the bending happen check out this video.